Showing posts with label Crafts. Show all posts

Dec 6, 2012

DIY Paper Stockings Advent Calendar


Merry Christmas!!!!

We started the month putting up the Advent Calendar. I spent two days making these paper socks, from an outline hubby made. Two days. And I'm glad I finished it on time.


This is the template hubby made for me to trace and cut. It was made in such a way that when you fold it makes a little envelope at the back where we can put little inserts that suggest fun activities for the whole family  favorite goodies and special treats for Little S and Kuya I. :)

Template

Cut

Fold


Embellish. Embellish. Embellish. Oh, the numbers were cut out by Kuya I and Little S helped paste it. It was one fun crafty event for all of us. :)


Everyday Kuya I and Little S are excited for Christmas countdown. Eager to see whats in store for them on that day. This is one Christmas tradition we all enjoy as a family...

What are your Christmas Traditions? Please do share. :)


------------------------------------------------------------------------------------------------------------------------------------------------------------------------------------------------------------
If you enjoyed this one, check my CRAFTS you might like it too :)


***
------------------------------------


Oct 1, 2012

No Cook: Blueberry Cheesecake


Finally after almost a year, I braved myself to the kitchen again and made, No cook: Blueberry Cheesecake. When I first saw this, it intimidated the Novice cook that I am. But when I finally decide to  just give it a try, I was very happy that I did because it was actually very easy to do and it was superlicious. My whole family loved it and they were begging me to make some more. 

Before I share to you how I did it, let me tell you that I am very inexperience to all of these and the only few things I know to do when it comes to cooking are, cooking rice in the rice cooker, hotdogs/ bacons in the toaster and of course the, No cook recipes I loved. 

So fair enough to say, that if I can make it. Anyone can. :)

I got the recipe from My Mom Friday, I am so thankful I came across her blog, now I got another collection for my No Cook Recipes. This is my 5th, easy, No Cook recipe collection. You can check it out here.

INGREDIENTS:


For the Crust:

1 1/2 cups graham cracker crumbs

1/2 teaspoon cinnamon powder (Mccormick)

1/4 teaspoon nutmeg (McCormick)
1 tablespoon sugar
1/2 cup (approx. 100g) softened butter (Magnolia Gold)
1 teaspoon lemon juice and grated rind (optional)


Cheesecake filling:
1 cup (1 brick) cream cheese
1 cup (1 brick) all purpose cream (Nestle)
1/2 cup sugar
3 tablespoons liquid milk (Carnation Evap)
1 tablespoon unflavored gelatin (1 sachet of Ferna)
1 teaspoon lemon juice (optional)

Topping:
1 can Comstock Blueberry pie filling


EASY STEPS:

  • Prepare the Crust:
Mix all dry Ingredients. Add butter and Mash well.
( if you don't have store bought graham cracker crumbs you can make one by mashing the crackers with food mixer or hand mixer.)


On an ungreased pan, transfer mixture and press evenly. I just used my clean palm to press and flatten the crust. Then place it in the freezer to harden, while you prepare the filling.


  • Prepare the filling:
Chilled cream + 2 tablespoon sugar. Whip until stiff. Then Set aside.
In a separate bowl, mix remaining sugar into softened cream cheese. Beat until fluffy and  then set aside.
In a small sauce pan, combine milk and gelatine powder ( I used Ferna instead of Knox because they don't have it in the grocery). Heat until completely dissolved, use wire whisk  while heating to remove lumps.
Remove from heat, pour and beat into cream cheese mixture.
Fold in cheese mixture to the whipped cream and beat on medium to high.

  • To assemble:

    Bring out the crust from freezer and pour in the cheesecake filling. 

    Cover pan with cling wrap and chill for a few hours. About 5 to 6 hours.


    Your cheesecake is now ready to serve. Top with blueberry pie filling (Cornstock). If your not a fan of blueberry you can top it with strawberry, or mango, or whatever it is you like. 

    I was so happy with the result. I loved it and my family loved it too. I will surely make this one again and again. On Christmas. On birthdays. On every special and not so special occasion. 

Go make one for yourself and your family. I'm sure they will love it too. And if you finally make it, let me know how you find it. :)


Have a sweet Tuesday everyone.

PhoebeCarla 

sharing this to:

FTFBadge


------------------------------------------------------------------------------------------------------------------------------------------------------------------------------------------------------------
If you enjoyed this one, check my CRAFTS you might like it too :)

------------------------------------


Jul 24, 2012

Diaper Card

We threw Jerilee a baby shower 2 weeks ago and we had so much fun even if it was just the four of us girlfriends left here in Cebu. I will make a separate post about where we went and how much fun we had that night, for the meantime let me show you the diaper card I made for her.


Isn't it lovely? I so love how it turned out, it's just so adorable. When I handed it out to the celebrant she was so happy to receive it. It looks overwhelming but trust me its so easy to do. 

Steps:
  1. Print out this template, trace and cut it  in a nice A3 paper.
  2. When your done, embellish the card as how you want it to look like. Ideas are endless, there are just too many, just go and play with your imagination. It should be fun
Easy peasy isn't it? 

I just added 4 cards inside so that my friends could write their best wishes too,even the ones who are far away. I asked what their messages are through FB and I wrote it down for them. Here's how the inserts look like.


Go try it, make one for your friend who's giving birth soon or who just gave birth or even to your friends kid's birthday.

Let's, make the world pretty. Have a nice day all. :)

PhoebeCarla 

------------------------------------------------------------------------------------------------------------------------------------------------------------------------------------------------------------
If you enjoyed this one, check my other tutorials you might like it too :)

------------------------------------


Jun 23, 2012

Tutorial | T-Shirt Card

I've received requests from my readers about the Father's Day card I made for the Men "dads"  in my life. So I thought, why not give a tutorial here in my blog.

I'm sure you've seen tutorials similar flooding in the internet but let me just show you how I did mine.


I used an A3 size decorative paper bought from Visayan Bookstore. It's one of the places I love scouting for Nice and cheap craft materials.


Turn the paper upside down, with the printed part facing the table.

Vertical Fold


Sleeve Fold

Open the Paper again and fold as follows.


This is prolly the only tricky part in folding but practice makes perfect. In no time you'll get the hang of it. Promise.

Collar Fold

Turn the paper upside down, Now we will fold the opposite end for the t-shirt's collar. 

Fold as follows.  


Remember, whatever you do on one side you do it to the opposite side too.


And then do the same with the opposite side.


Fold the bottom end and insert it to the collar. And TADA.... 


That's it! 

Now the rest is up to your imagination. Embellish. Embellish. Embellish. You can add a tie, or draw a pocket perhaps, or even a button will make a cute addition to this card.

Here's what I did last year's Father's day. You can read about it here.


Happy weekend everyone. Hope you enjoyed this one :)

PhoebeCarla 

------------------------------------------------------------------------------------------------------------------------------------------------------------------------------------------------------------
If you enjoyed this one, check my other tutorials you might like it too :)

------------------------------------


May 10, 2012

Sophia's 2nd Best Day Ever Birthday Party: Mommy's DIYs

Little S turned 2 last April 3. Two. Already. Can you believe it? Wasn't just I pregnant with her?
So yeah, she’s already two and we gave her a Tangled Theme for her birthday, obviously for the reason that she’s glued to “tita Rapunzel”…. She adores and loves the movie so much that she makes us watch it at least twice a day.  I can hear me speak the lines without stutter already. (bravo to mommy)

Unlike her First Birthday that was a bit grand, we threw her a simpler birthday party. We celebrated her birthday with close friends and families. So tangled alright, the only problem I had was that there weren’t enough party supplies for our theme and that I had only two weeks to prepare for the party.

I did the impossible, and made a lot of DIYs in two weeks’ time. Good thing I have few happy helpers who are inclined and happy to give a hand. I could have done so much better if I started planning early, that’s a lesson learned but then again my mind and body seems to work better on the 11th hour. Hhehehe…
But nonetheless Sophia’s 2nd birthday, like the first was a” Mom’s and Dad’s work of love”.

We held her party at Kaka and Mimi's ( my parent's) House. Thanks to the ever stage grandparents we've saved a lot of mulah !!! 

Let me present to you Sophia's tarpaulin. It took me a week to make the layout. It was brain wrecking, promise. But I was very happy and contented with the outcome. When Sophia saw it she jumped up and down with adoration and delight. She was so happy. I was so proud of myself. (patting myself for a job well done) 

Oh the Buntings, I made them too. I got the idea from  here.


The Invitation and the mini standees:


I made a tower invitation for Sophie, got the inspiration from here. I just inserted her picture and instead of the blond hair Rapunzel has I made her a golden brown hair out of embroidery yarn to match her natural hair color.

The mini standees were so fun to make, and it was a hit. I made 7 mini standees with different pictures of her, after the party everybody took it as a souvenir and some asked me if I can make more so they can all have one each. But hey it was part of the centrepiece not a souvenir lol.

Every princess deserves a castle. Now this one I give credits to Maury. He built it for her unica hija.

I made her standees the night before her birthday. It seems complicated to do but it's actually easy only time consuming.


DIY Cake and Cupcake Toppers, Lollipop Topiary, Pascal Blower and Sophie's Picture for more personal touch.


Sexy DressToppers 
I also made her a beautiful centerpiece but didn't get to take pics of it. I wanted to show you guys pa naman sana.

Doing a DIY home birthday party is fun but very challenging especially for working moms like me. I've learned a few lessons, first to plan ahead of time like 3 months maybe. Second is to hire or assign someone to do the photography so nothing is going to be missed out, because at the middle of the party Nikky (our DSLR) died on me because I forgot to charge it.... Arghhhh.... And lastly, ask help from your friend or family because even if we are super moms, we only got 2 hands and we can only do so much.


PhoebeCarla


***
If you love children’s party, I've got a few collections here


*** 
Sharing this to :



Photobucket


Apr 26, 2012

Sophia's 2nd Best Day Ever Party: Castle Photobooth

Every princess deserves a nice castle.

If you've read my previous posts before, you now know now that our little girl is super into "Tangled' the movie. Thus the Birthday theme. Thus the making her a castle.

'Making', because we want to stick on our budget and besides, I like things handmade because they always represent labor of love plus the fact that I'm so into kuting things...

I made the standee, but I'll talk about it more in my next post and maybe a little 'how to' if time permits because it seems complicated to make but they are really fun and easy.

The Castle Photobooth, I give credits to hubby for taking time cutting out and making her princess a castle, knowing how busy he is, he managed to make time. That I call love :)


Photobooth


Maury made the photobooth 2 days before the party. We just made used of the carton from an old Ref, painted it some cartolinas, decorative papers and plastic plant decors the ones found in any home section of the department store. And lastly let's not forget Rapunzel's Golden hair made of crochet yarns. 


Even Kuya Icee helped out.


Sophia was there to supervise daddy the whole time. 

She adoring her even undone castle was such a joy.. I know we made her happy. I can see her eyes twinkle as she looks at it. And during the actual party, she bragged about it to everybody. 

She's just so adorable. 


The photo booth was a hit. The guests love it. But most importantly we made our little princess very happy with her castle.


Queen Lalah and princess Sophie

Have a blessed weekend you all. Stay Safe :)


PhoebeCarla


Feb 1, 2012

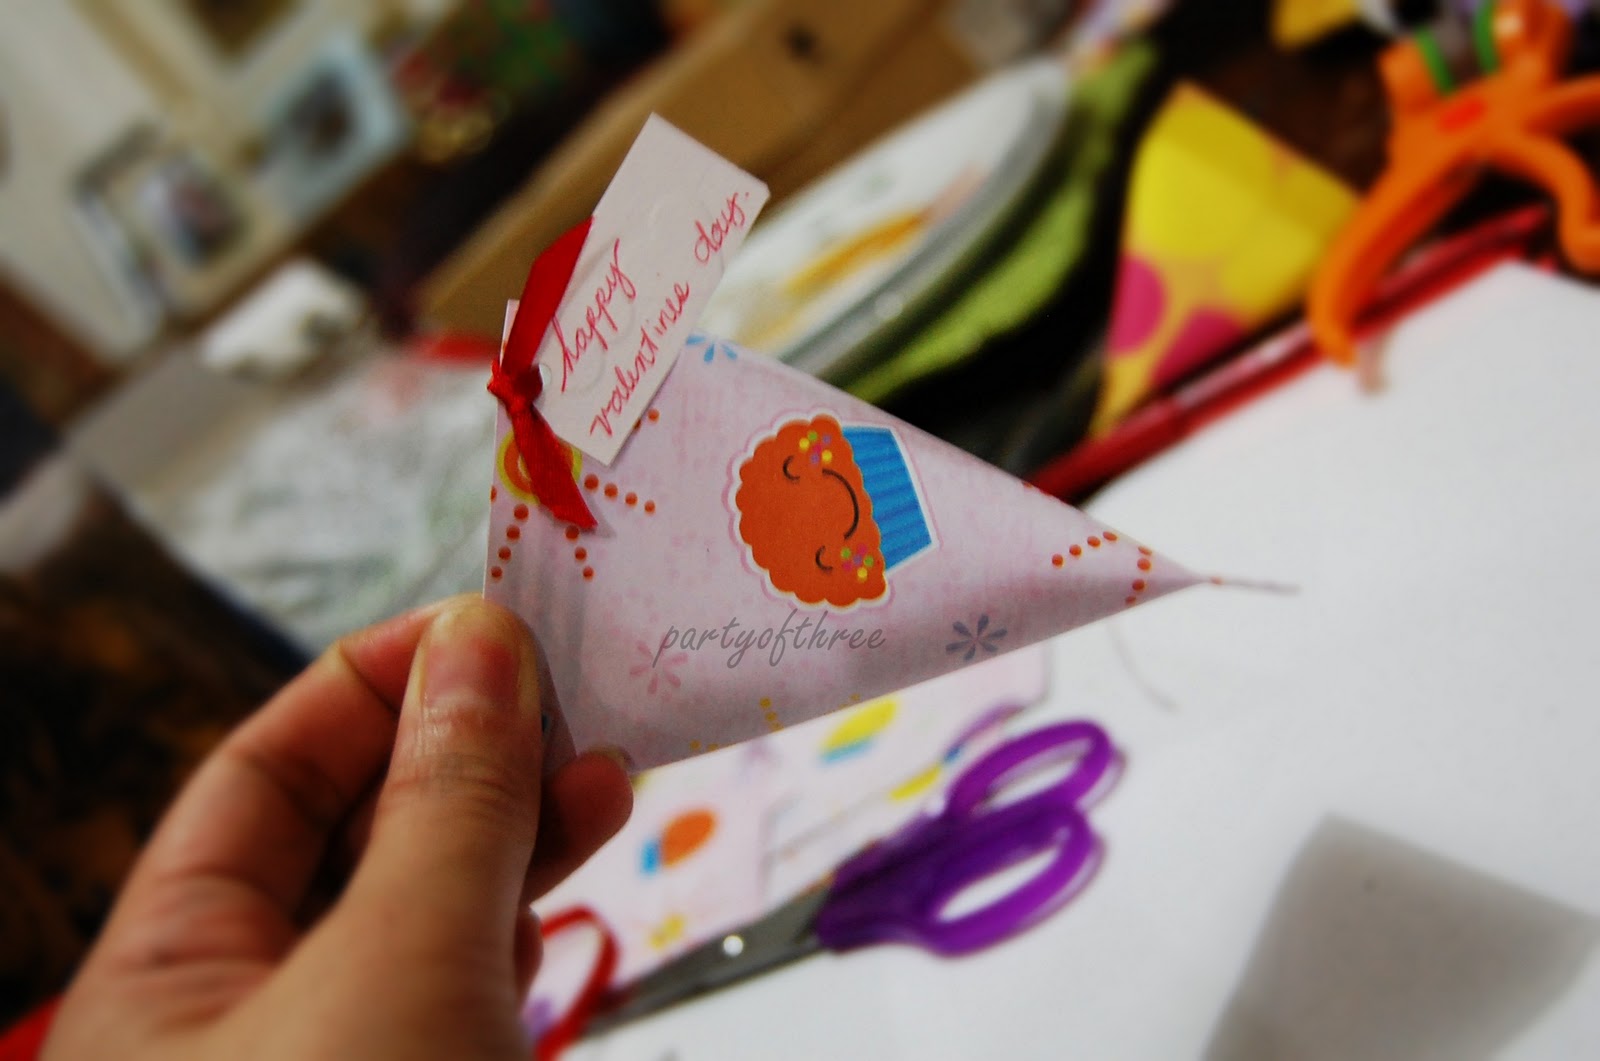
Sour Cream Box: for my Valentine Goodies

I Love February. It's my birth month and it's full of cheesiness and love. 

For this month, I'm planning to spread love and sweetness to all my lovies and the children in the street who are, maybe feeling less loved. Making an extra move as simple as it is, goes a long way.  I'm giving sweet candies and chocolates and I'm putting it inside this very easy yet cute box.


Of course, You've seen this around the web, it's very popular because it's very easy to make. Here's how I did it.

 The Materials:

  1. Stockcard- my card was originally an A3 in size, I just divided it into 4. 
  2. Double Sided tape
  3. Scissors
  4. Crimper (optional)
  5. Goodies

Simple Steps:


1. Turn the paper with the wrong side up. 
    Put adhesive to only three sides of the rectangle, as shown below.


2. Roll your paper, so it will look like the pulp of your empty toilet paper. Like this:


3. Press close the bottom of your sourcream box. leaving the top part open.


4. Put in your goodies... The sweeter the better... :)


5. Press and seal the top part of your box. Make sure you seal it the opposite way as the bottom so it will    give you a twist. 
Like this:


6. This last step is really optional. If you have a crimper, go ahead and crimp for nicer finish effect. If you     don't have one, it will still look cute and nice, don't worry.


So there you have it, an easy to do box for your goodies this valentines. You can embellish it as you please to suit whatever occasion. I'm sure your love ones will appreciate little gift like this. Go give this and make that someone smile....


Let's all spread love. Love Love Love ....

PhoebeCarla 

------------------------------------------------------------------------------------------------------------------------------------------------------------------------------------------------------------
If you enjoyed this one, check my other tutorials you might like it too :)

------------------------------------