Showing posts with label Christmas DIYs. Show all posts

Dec 6, 2012

DIY Paper Stockings Advent Calendar


Merry Christmas!!!!

We started the month putting up the Advent Calendar. I spent two days making these paper socks, from an outline hubby made. Two days. And I'm glad I finished it on time.


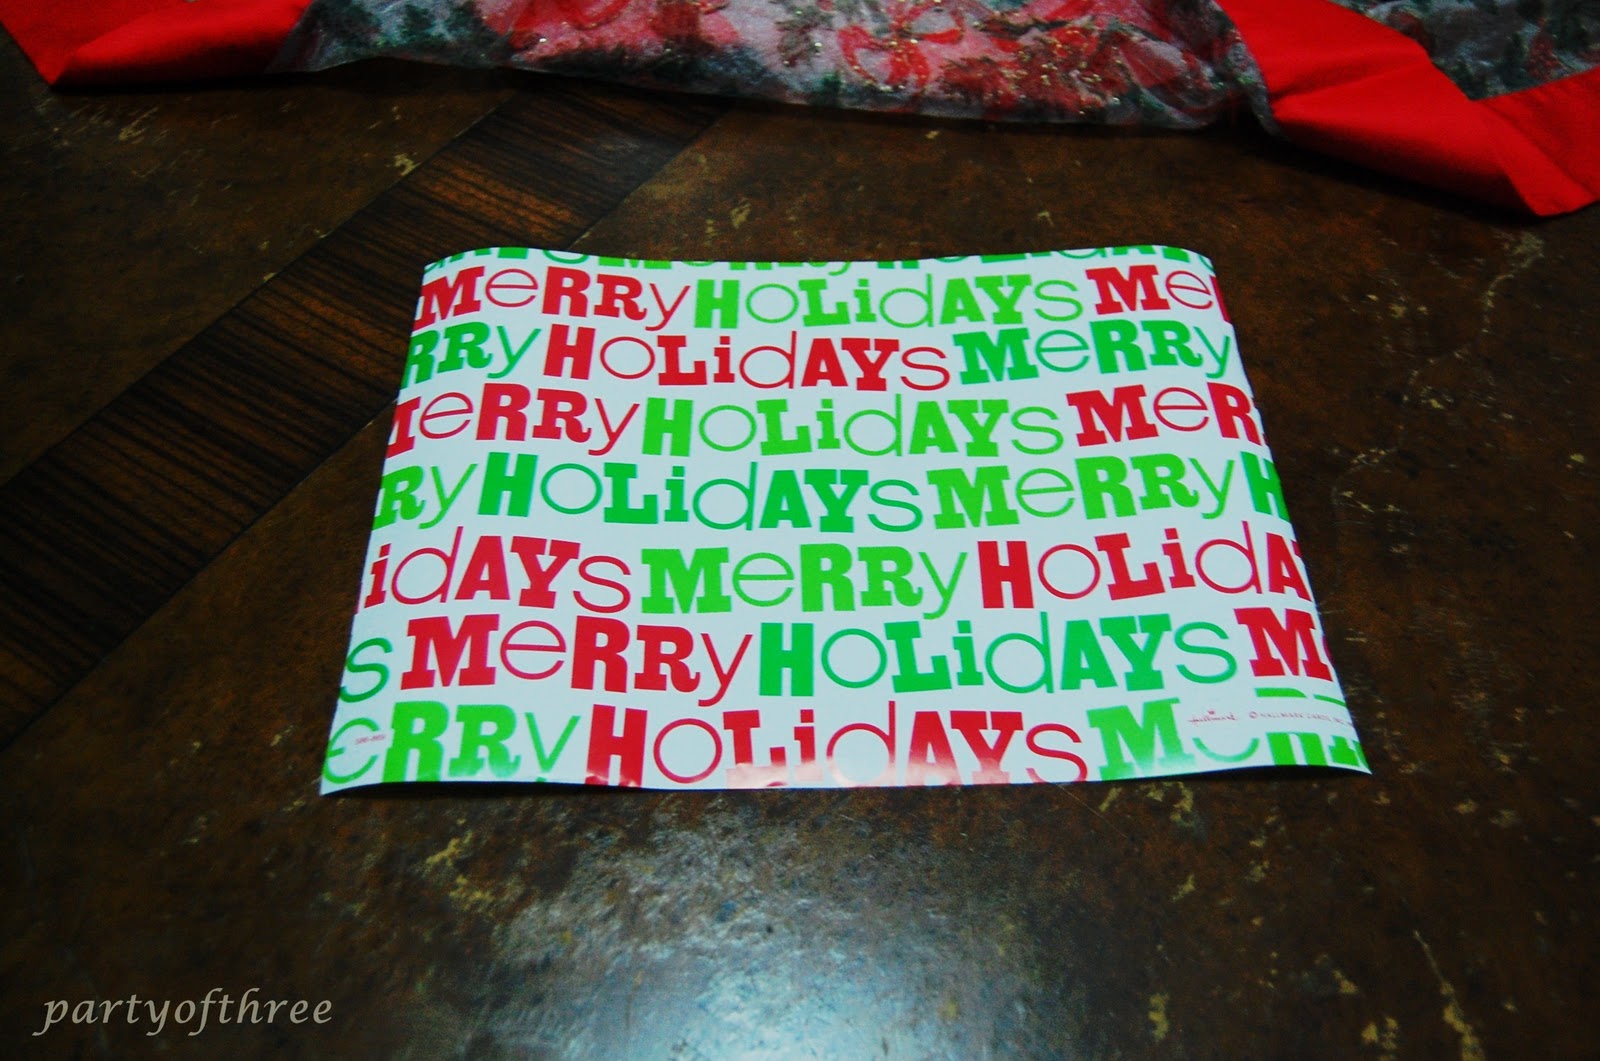
This is the template hubby made for me to trace and cut. It was made in such a way that when you fold it makes a little envelope at the back where we can put little inserts that suggest fun activities for the whole family  favorite goodies and special treats for Little S and Kuya I. :)

Template

Cut

Fold


Embellish. Embellish. Embellish. Oh, the numbers were cut out by Kuya I and Little S helped paste it. It was one fun crafty event for all of us. :)


Everyday Kuya I and Little S are excited for Christmas countdown. Eager to see whats in store for them on that day. This is one Christmas tradition we all enjoy as a family...

What are your Christmas Traditions? Please do share. :)


------------------------------------------------------------------------------------------------------------------------------------------------------------------------------------------------------------
If you enjoyed this one, check my CRAFTS you might like it too :)


***
------------------------------------


Dec 6, 2011

Paper Gift Bags


I love gift wrapping. It excites me. Receiving gifts and opening it excites me more. Nyaah...


Sometimes, I get myself volunteering to doing it for someone. And the easiest way I do it is by making gift bags/ paper bags, they are so easy to make. In fact, I've made a few, even before buying the actual gift to put inside and I find it very convenient when the need arise.

Yup I've started wrapping gifts for all the nice and slightly naughty people in our lives for Christmas...

Here's How I do it:

Materials:


I got this Christmas wrapper from National Bookstore, i think its a set of 5 (I'm not sure though) . I cut it into four. So, this paper is actually the 1/4 size of it.


Turn the paper with the wrong side up and fold half an inch on one side. This is where we put the double sided tape on.


Fold the paper into half and paste.


 Fold 1 inch on both sides


 It should look like this by now.


The side now has 3 fold lines. Tuck in the middle fold, and give you this.


 Fold 2 inches at the bottom part. That will be the base of the bag.


 Here's how it looks side ways.


Open the bottom part and fold like the one in the pic below.


Whatever you do on one side, do it on the other side too.


Then fold this way. Follow the pic below.


Do on both side.


Fold.


And close.


Now you have a paper bag. You can put string/ ribbon or leave it as is, put your goodies and seal.


I made 24 of these with different sizes for our Advent Calendar this year. I had so much fun doing it. 

I also used this to put the hand lotions I bought for the stuffs at the clinic. 

I got this 3 for 125 pesos only. :)


Instead of putting handles on the paper bags, I folded the top of the bag and punched 2 holes for the ribbons.


Do you have any wrapping ideas to share? Please do share. I love learning something new. :) 


PhoebeCarla 

------------------------------------------------------------------------------------------------------------------------------------------------------------------------------------------------------------
If you enjoyed this one, check my other tutorials you might like it too :)

------------------------------------