Showing posts with label Paper Crafts. Show all posts

Dec 6, 2012

DIY Paper Stockings Advent Calendar


Merry Christmas!!!!

We started the month putting up the Advent Calendar. I spent two days making these paper socks, from an outline hubby made. Two days. And I'm glad I finished it on time.


This is the template hubby made for me to trace and cut. It was made in such a way that when you fold it makes a little envelope at the back where we can put little inserts that suggest fun activities for the whole family  favorite goodies and special treats for Little S and Kuya I. :)

Template

Cut

Fold


Embellish. Embellish. Embellish. Oh, the numbers were cut out by Kuya I and Little S helped paste it. It was one fun crafty event for all of us. :)


Everyday Kuya I and Little S are excited for Christmas countdown. Eager to see whats in store for them on that day. This is one Christmas tradition we all enjoy as a family...

What are your Christmas Traditions? Please do share. :)


------------------------------------------------------------------------------------------------------------------------------------------------------------------------------------------------------------
If you enjoyed this one, check my CRAFTS you might like it too :)


***
------------------------------------


Jul 24, 2012

Diaper Card

We threw Jerilee a baby shower 2 weeks ago and we had so much fun even if it was just the four of us girlfriends left here in Cebu. I will make a separate post about where we went and how much fun we had that night, for the meantime let me show you the diaper card I made for her.


Isn't it lovely? I so love how it turned out, it's just so adorable. When I handed it out to the celebrant she was so happy to receive it. It looks overwhelming but trust me its so easy to do. 

Steps:
  1. Print out this template, trace and cut it  in a nice A3 paper.
  2. When your done, embellish the card as how you want it to look like. Ideas are endless, there are just too many, just go and play with your imagination. It should be fun
Easy peasy isn't it? 

I just added 4 cards inside so that my friends could write their best wishes too,even the ones who are far away. I asked what their messages are through FB and I wrote it down for them. Here's how the inserts look like.


Go try it, make one for your friend who's giving birth soon or who just gave birth or even to your friends kid's birthday.

Let's, make the world pretty. Have a nice day all. :)

PhoebeCarla 

------------------------------------------------------------------------------------------------------------------------------------------------------------------------------------------------------------
If you enjoyed this one, check my other tutorials you might like it too :)

------------------------------------


Jun 23, 2012

Tutorial | T-Shirt Card

I've received requests from my readers about the Father's Day card I made for the Men "dads"  in my life. So I thought, why not give a tutorial here in my blog.

I'm sure you've seen tutorials similar flooding in the internet but let me just show you how I did mine.


I used an A3 size decorative paper bought from Visayan Bookstore. It's one of the places I love scouting for Nice and cheap craft materials.


Turn the paper upside down, with the printed part facing the table.

Vertical Fold


Sleeve Fold

Open the Paper again and fold as follows.


This is prolly the only tricky part in folding but practice makes perfect. In no time you'll get the hang of it. Promise.

Collar Fold

Turn the paper upside down, Now we will fold the opposite end for the t-shirt's collar. 

Fold as follows.  


Remember, whatever you do on one side you do it to the opposite side too.


And then do the same with the opposite side.


Fold the bottom end and insert it to the collar. And TADA.... 


That's it! 

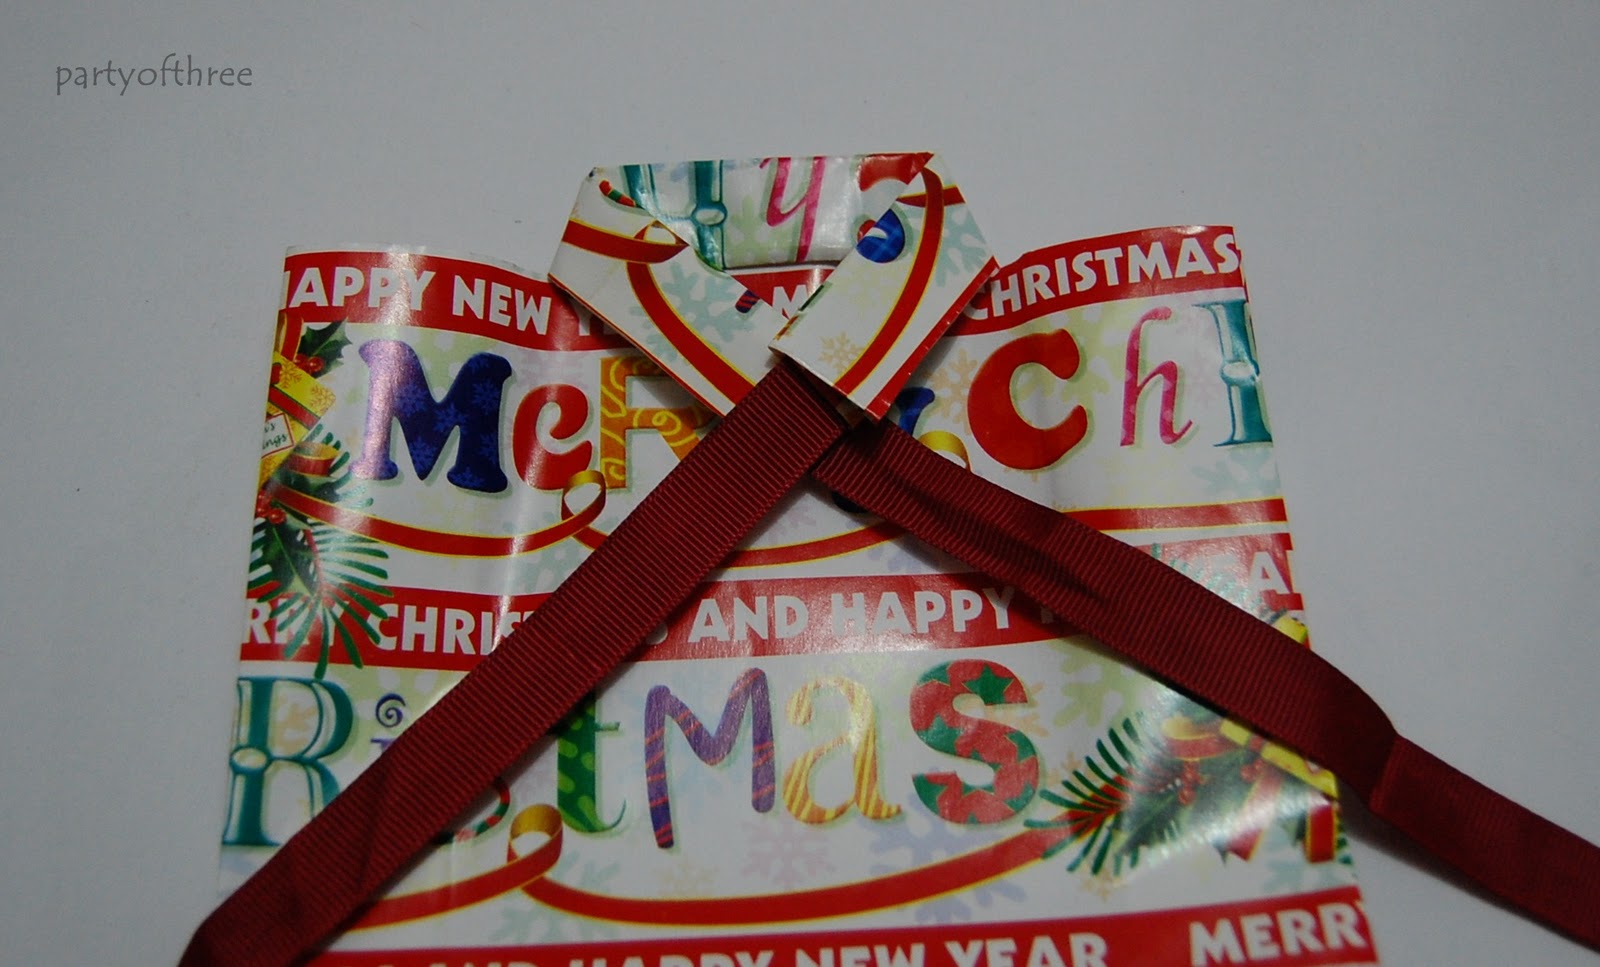
Now the rest is up to your imagination. Embellish. Embellish. Embellish. You can add a tie, or draw a pocket perhaps, or even a button will make a cute addition to this card.

Here's what I did last year's Father's day. You can read about it here.


Happy weekend everyone. Hope you enjoyed this one :)

PhoebeCarla 

------------------------------------------------------------------------------------------------------------------------------------------------------------------------------------------------------------
If you enjoyed this one, check my other tutorials you might like it too :)

------------------------------------


Feb 1, 2012

Sour Cream Box: for my Valentine Goodies

I Love February. It's my birth month and it's full of cheesiness and love. 

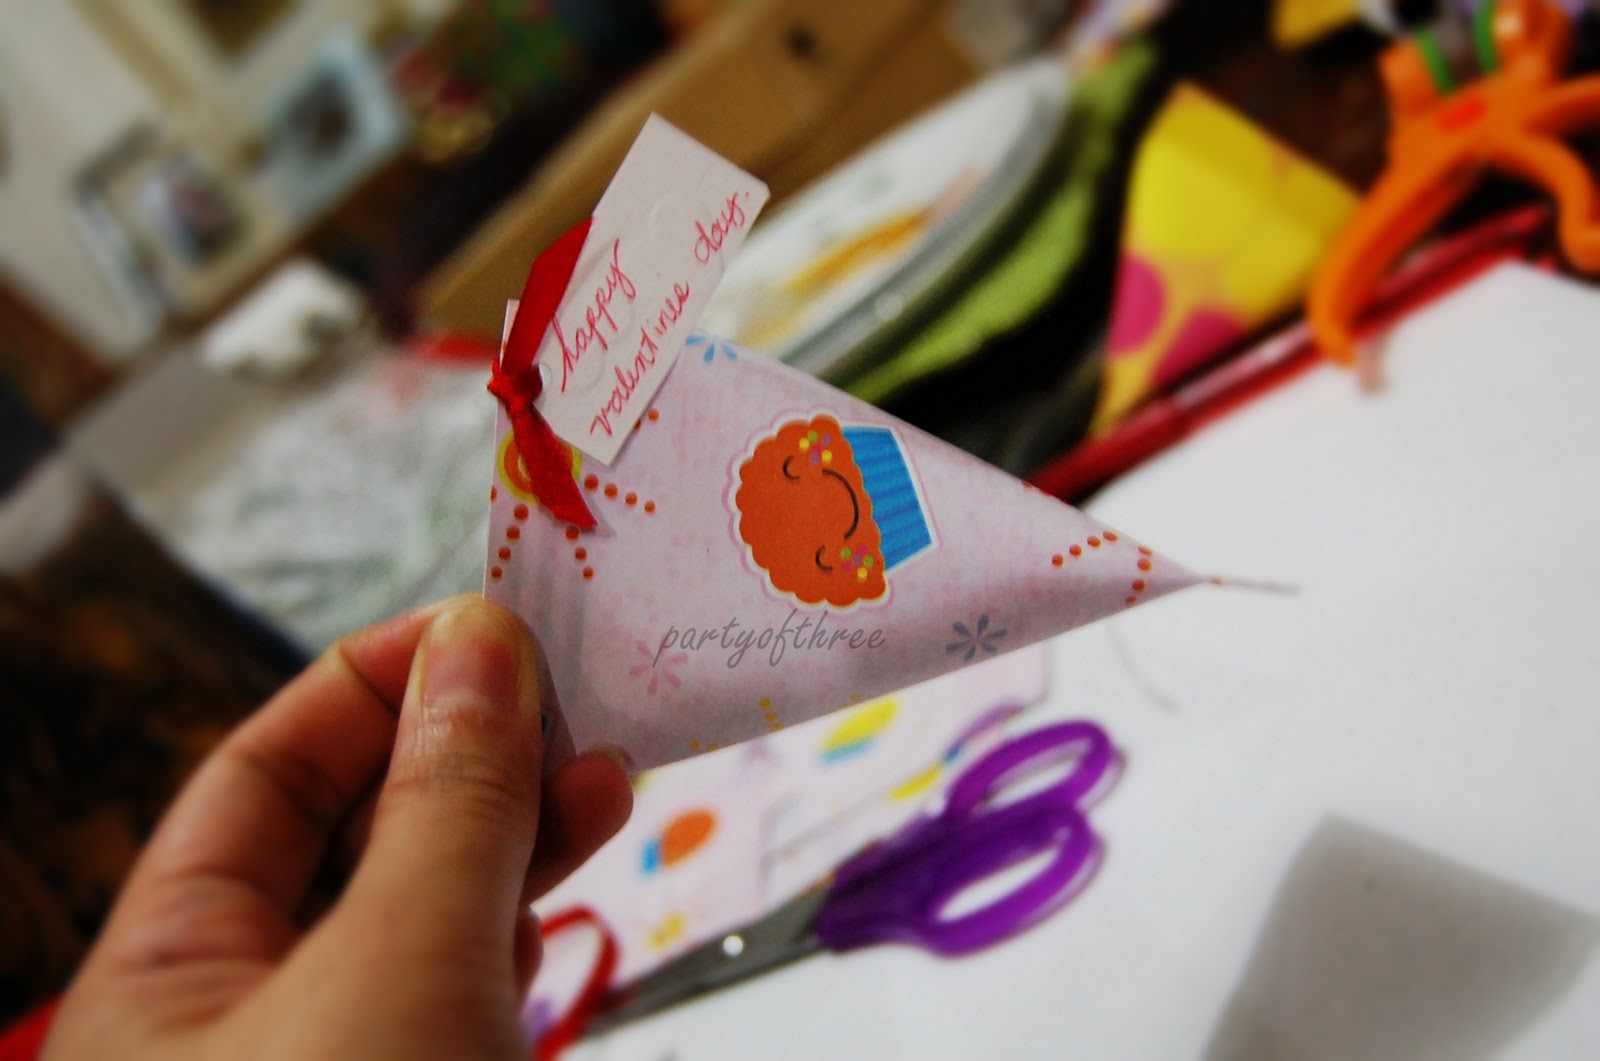
For this month, I'm planning to spread love and sweetness to all my lovies and the children in the street who are, maybe feeling less loved. Making an extra move as simple as it is, goes a long way.  I'm giving sweet candies and chocolates and I'm putting it inside this very easy yet cute box.


Of course, You've seen this around the web, it's very popular because it's very easy to make. Here's how I did it.

 The Materials:

  1. Stockcard- my card was originally an A3 in size, I just divided it into 4. 
  2. Double Sided tape
  3. Scissors
  4. Crimper (optional)
  5. Goodies

Simple Steps:


1. Turn the paper with the wrong side up. 
    Put adhesive to only three sides of the rectangle, as shown below.


2. Roll your paper, so it will look like the pulp of your empty toilet paper. Like this:


3. Press close the bottom of your sourcream box. leaving the top part open.


4. Put in your goodies... The sweeter the better... :)


5. Press and seal the top part of your box. Make sure you seal it the opposite way as the bottom so it will    give you a twist. 
Like this:


6. This last step is really optional. If you have a crimper, go ahead and crimp for nicer finish effect. If you     don't have one, it will still look cute and nice, don't worry.


So there you have it, an easy to do box for your goodies this valentines. You can embellish it as you please to suit whatever occasion. I'm sure your love ones will appreciate little gift like this. Go give this and make that someone smile....


Let's all spread love. Love Love Love ....

PhoebeCarla 

------------------------------------------------------------------------------------------------------------------------------------------------------------------------------------------------------------
If you enjoyed this one, check my other tutorials you might like it too :)

------------------------------------

Jan 10, 2012

I love to Craft

I love to craft, that's no secret to the people who knows me well. There is something about creating beautiful things from scratch that made me love doing it. I love the "wow" effect it does on people after seeing my creations but most importantly I love the effect it gives me seeing the things I made, There's satisfaction. There's fulfillment.

I don't have any tutorials today but I'm going to show you the things I made from the past. 

This is a diaper cake and a Bib Card, I made for my friend Joanne who was pregnant at that time with my goddaughter Carel. Now, Carel is 3. Now I gained quite a lot of pounds too. 


Pocket card Holder for my friend Jerilee's birthday and engagement party. Back 2008 


CD holder. I made this personal CD holder to hold my wedding and prenuptial video.


I found those pics in my flickr account, which I've totally forgot about. When I saw it, my heart skipped a bit.

This year, I want to craft more. Because it makes me happy. Hopefully I can find time to squeeze it in my busy sched. Hopefully I can show you my other crafts from the past and hopefully I can find time to make tutorials too.


PhoebeCarla


Dec 14, 2011

Dressing Up My Paper Bag: Shirt and Tie


I know I know... I got hooked with gift wrapping, paper bag making for gift giving. Last night I made shirt with tie paper bags for the Men, they loved the card I made for them last Father's Day, and I'm sure they will love the tie on their paper bags too.

Here is how I did it:

First you need a paper bag, you can have a store bought bag or you can make your own. Click here to see how I did mine.

At the top, fold half an inch


 Place a double sided tape on it, and put your half inch ribbon and paste. ( be sure to have enough ribbons for tying)


And then fold like in the picture below. Fold 2x


 You will come up with something like this.


Cut from one side about 1 and half inch  and then do the same with the other side.


 Then you will have something like this.


Fold


and again fold on the other side too.


Tie to form a necktie.

 Fold the top side at an angle to give your shirt a nice shoulder. Then paste. Do on both sides.


 There you have it. Simple and easy Shirt with Tie Gift bag.


It's almost Christmas and for us Roman Catholics, tomorrow is the start of Simbang Gabi. Let's all have a blessed and Merry Christmas.

PhoebeCarla 

------------------------------------------------------------------------------------------------------------------------------------------------------------------------------------------------------------
If you enjoyed this one, check my other tutorials you might like it too :)

------------------------------------